


Resource Articles Category: Snow Plow Tips
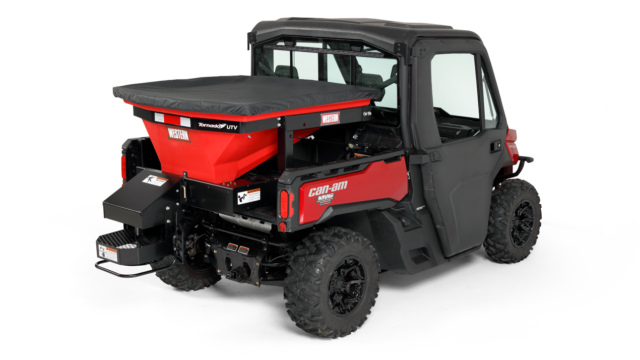
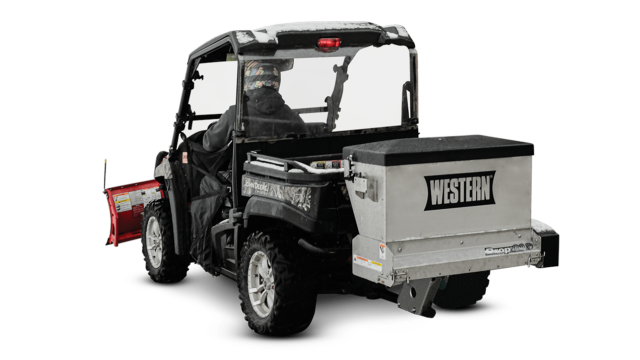
Learn How to Install a WESTERN® UTV Plow In Your Own Garage or Shop
Created January 24, 2022
Mechanically inclined homeowners and snow and ice control professionals are more than capable of installing their own UTV plow with basic tools in their garage. Since the vehicle and plow are smaller, it’s easier to maneuver and lift as needed in a confined space. Learn what tools will be needed and gain advice from the experts at WESTERN before getting started.
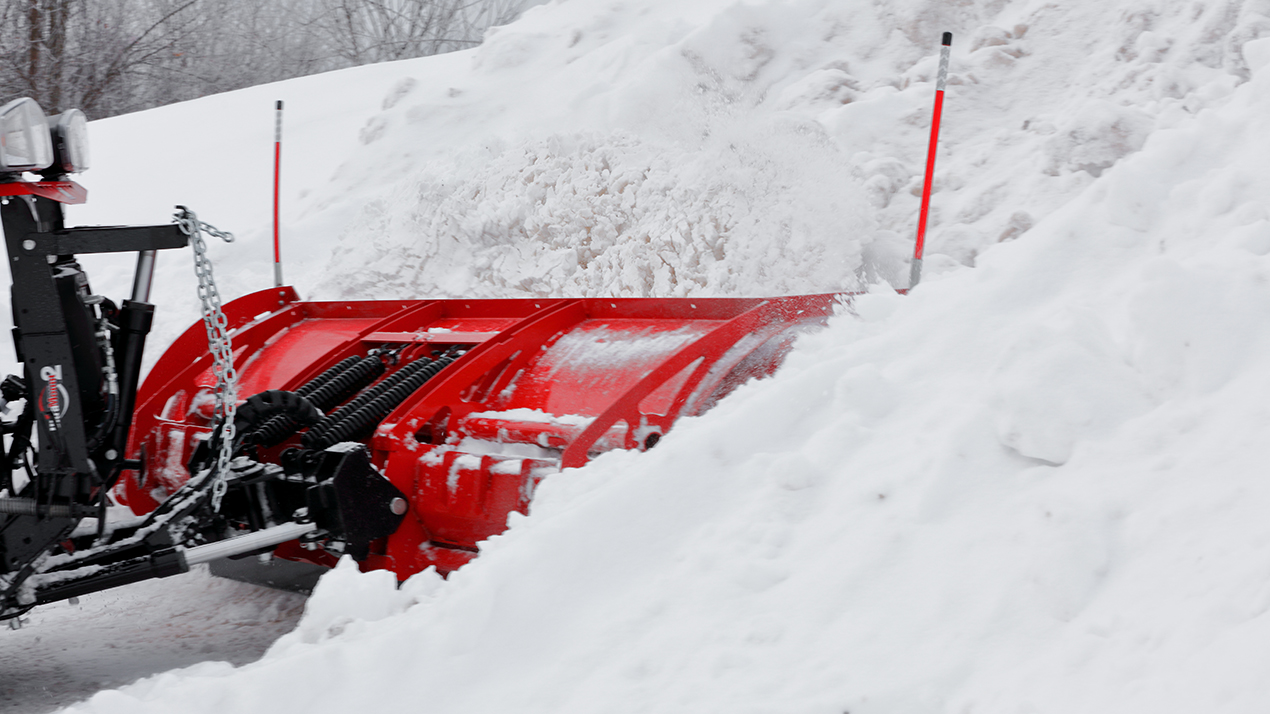
Choosing the Right WESTERN UTV Plow
WESTERN has a line of plows engineered to fit a wide range of UTV makes and models. To ensure it’s the right fit for your utility vehicle, verify it with the WESTERN Quick Match system. It will also notify you if a stronger suspension or other vehicle adjustments may be needed. You can then purchase a UTV plow as a cash and carry item from your local WESTERN dealer.
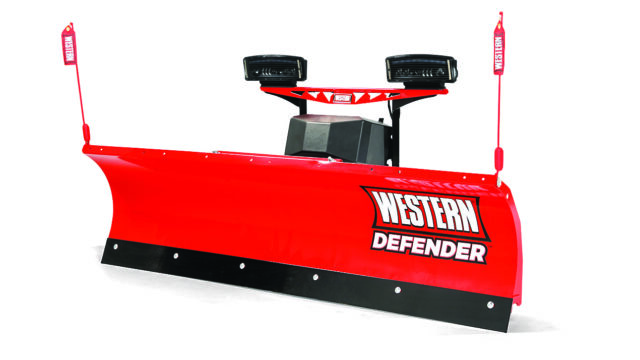
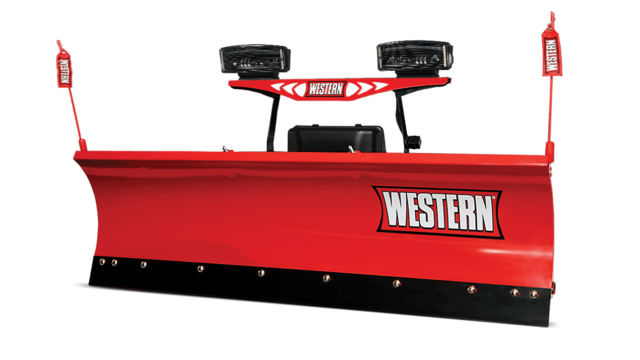
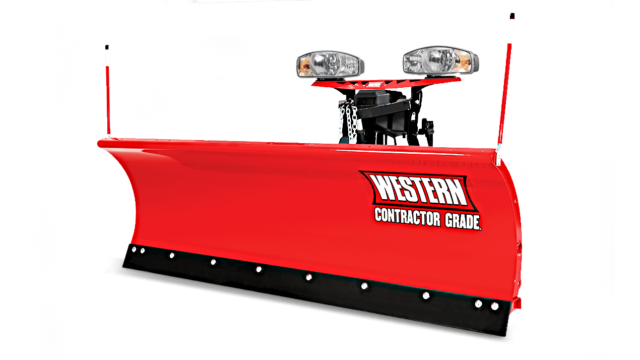
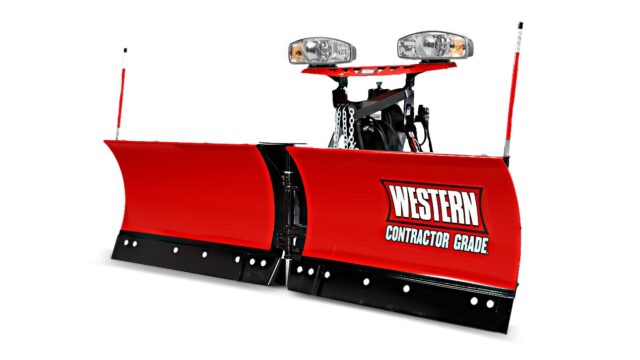
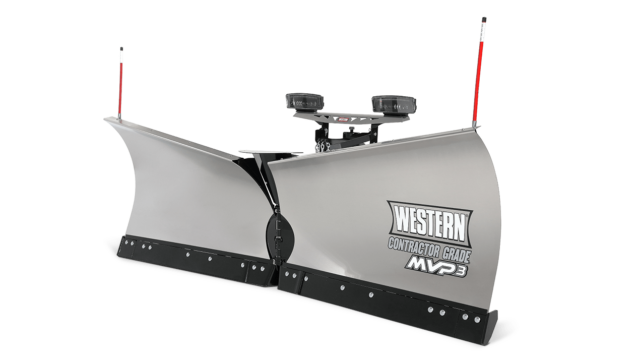
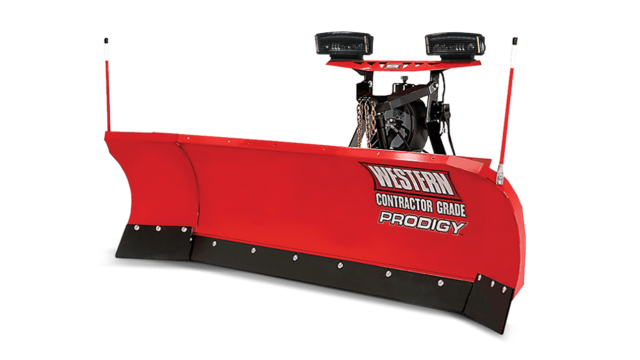
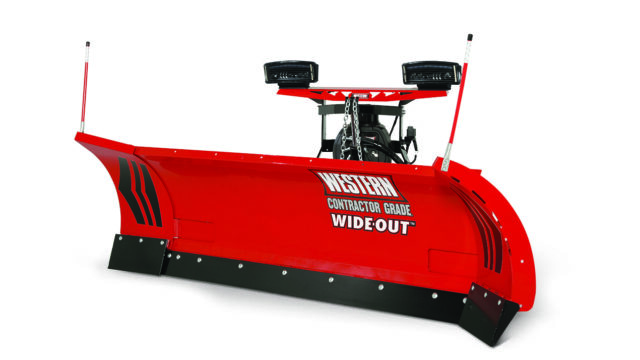
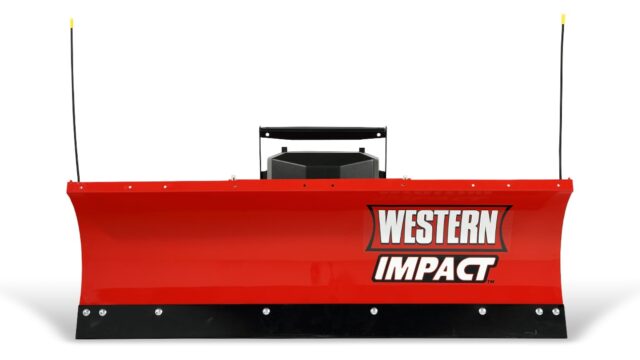
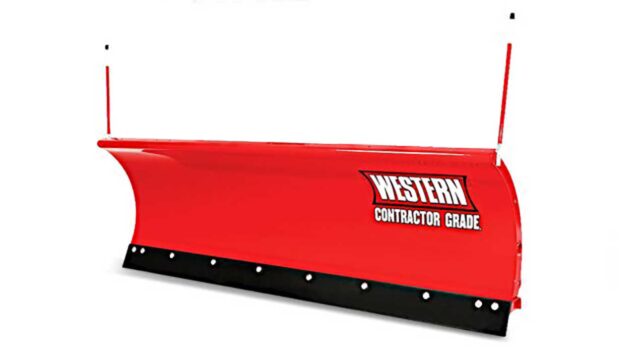
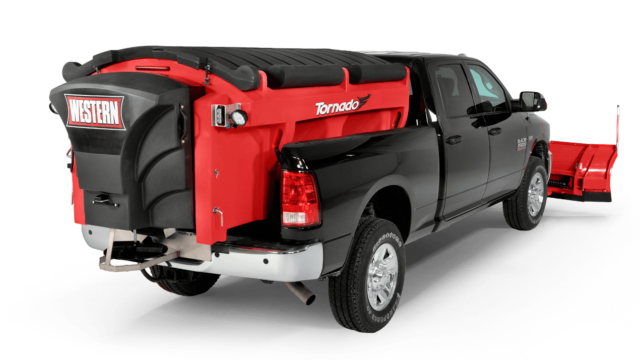
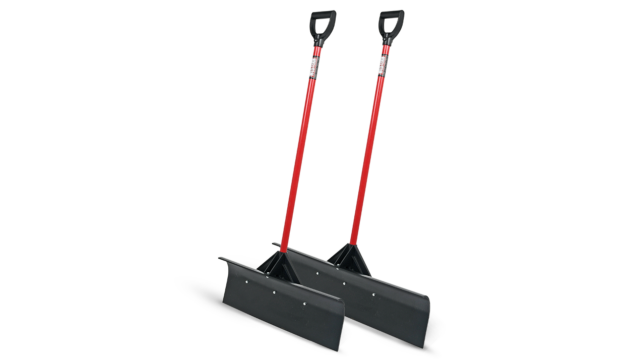
Mid-Duty IMPACT™ Straight Blade:
Intended for crossover and sport UTVs with 5’6” and 6’0” blade width options. Packages available in either full hydraulic lift and angle or winch lift manual angle. The unique patent-pending Sway-Frame™ allows the blade to shift side-to-side, keeping it in optimal position for maximum cleanup.
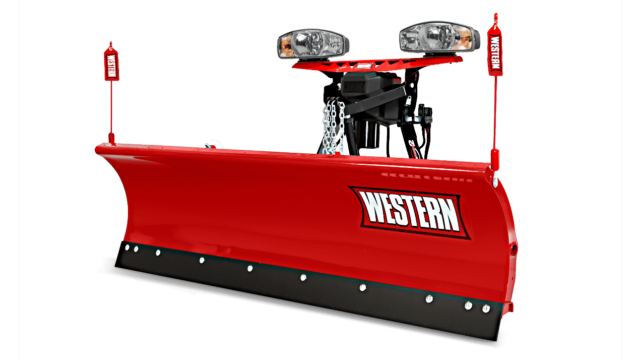
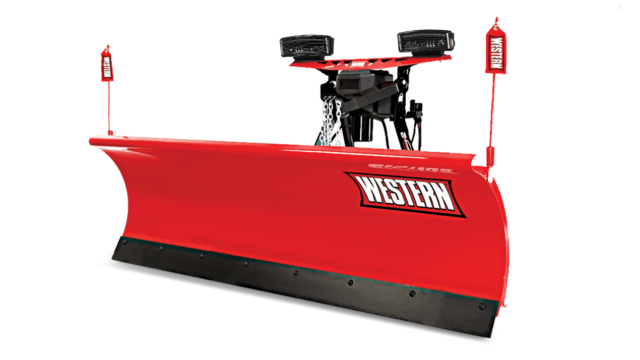
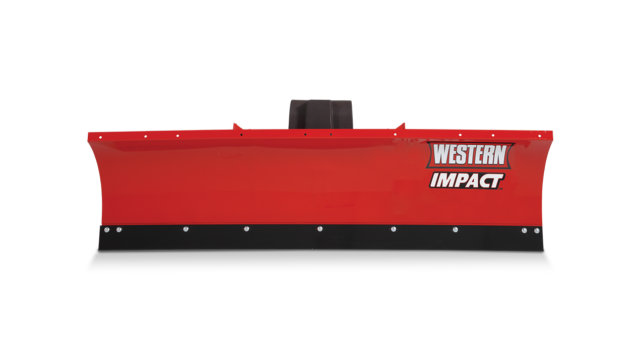
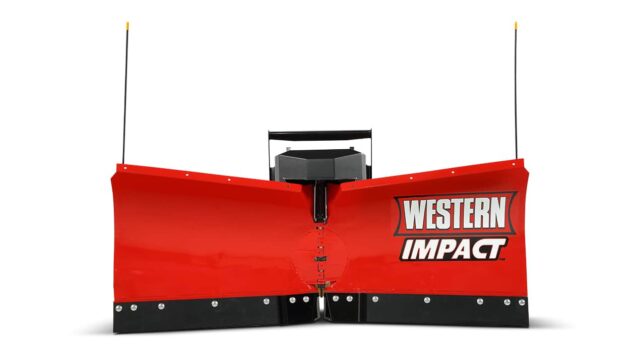
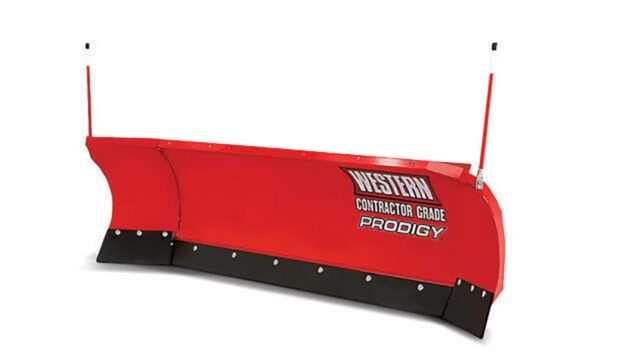
Heavy-Duty IMPACT™ Straight Blade or V-Plow:
Fits full-size and heavy-duty work UTVs with a 6’0” blade width. The straight blade and v-plow both feature Scrape Lock for clean scraping and back dragging abilities.
Preparing for a UTV Plow Installation
WESTERN makes it easy by providing a list of applicable tools and detailed Installation Instructions that explain the process from start to finish.
Don’t Doubt the Importance of a Dry Run
Lay all of the pieces on the ground, match them up with the parts list that comes with the mount. There is a big possibility you could put it all on backwards. Before you even put the mount on, slide the side receiver in or you could lose valuable time if it doesn’t slide properly in the end. Lay out the electrical harness and make sure it will reach the battery and not interfere with UTV parts.
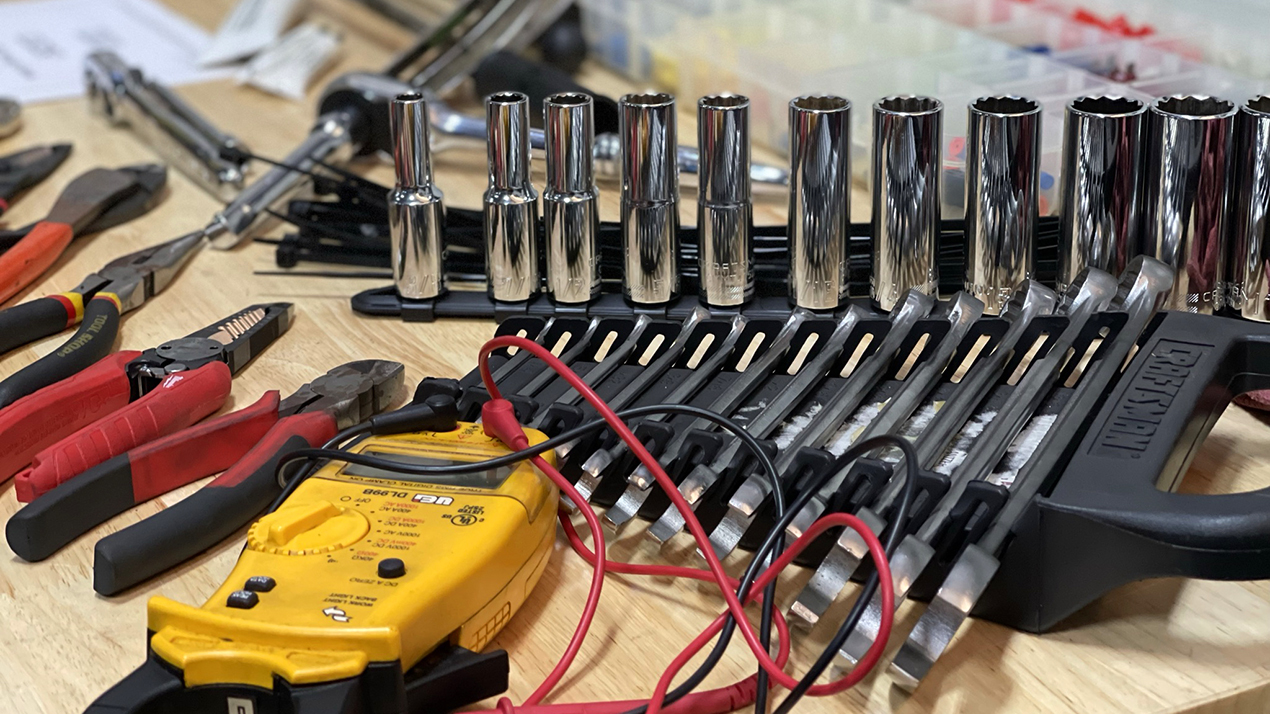
Tools Needed for Installation
- 3 Plow Components (Blade Assembly, Big Box w/ Mount & Electrical Harness, and Controller)
- Crescent Wrench
- Regular Wrench Set
- Torque Wrench
- Ratchet & Socket Set W/ Extensions
- Butt End Electrical Connectors
- Electrical Wire Cutters
- Crimp Tool
- Hammer
- Needle Nose Plyer
- Basic Automotive Tool Set
- Floor Jack or Jack Stand/Hoist
- Impact & Regular Drill
- Drill Bit Set
- Multi Meter
- Flashlight
- PPE Safety Glasses, Gloves, etc.
- Rags
- Pry Bar
- Side Cutter
- Zip Ties
- Electrical Tape
- Dielectric Grease
- Hydraulic Oil & Oil Pan
WATCH NOW: Mid-Duty UTV Plow Installation on a John Deere
Here’s a video tutorial of how to install the mount and electrical for the WESTERN® Mid-Duty IMPACT™ UTV Plow on a John Deere XUV 835/865 Gator.
Step-By-Step Instructions
Even though this video walks through a John Deere installation, other UTV manufacturers like Kubota, Can-Am, or Polaris are very similar. The main difference is the equipment (mount and wiring). Depending on how familiar you are with UTV plow installations, it’s best to plan for 2-5 hours to complete this install.
BEFORE YOU BEGIN: Read and understand the Installation Instructions before installing the snowplow.
- Inspect all parts that are required to perform this installation.
- Safely gain access to the front bottom section of the vehicle.
- Remove the front skid plate.
- Follow the installation instructions sent with the mount assembly. Index and install the two nut bars into the front of the frame channels.
- Place the upper angle bracket on the top side of the frame. Then hold the lower bracket assembly in place, align the holes and insert the provided bolts from the bottom up. Loosely tighten them. You will have to do this on both sides.
- Install the blade mount into place using something to support it as you install the four bolts through the mount and frame into the nut bar that was earlier installed. Tighten loosely.
- Continue by loosely attaching the blade mount to the front upper frame brace with two bolts each side to hold it in place.
- Next align the bolt holes on the upper part of the blade mount on both inner and outer sides of the frame and loosely install the two bolts and nuts. Repeat this on the other side as well. Tighten all loose fasteners. See torque spec chart in installation instructions.
- Install the frame brace between the inner and upper vehicle frame. Use the three fasteners provided in the kit.
- Next route the vehicle harness through the front of the vehicle and connect the WESTERN power connector to the vehicle provided winch electrical cable at the front of the vehicle.
- Continue routing the vehicle harness up through the front compartment of the vehicle towards the bulkhead. Locate the John Deere mating connectors, remove plug, and connect the female plow control harnesses.
- From inside the vehicle facing the dash panel, start by removing the center upper panel. This is held in place by four plastic retainers.
- Next, remove the shift handle cap and retaining nut with handle body. From here you can remove the center panel.
- Remove the two screws holding in the bottom dash panel storage compartment and remove compartment.
- Locate the John Deere harness plug in the dash and remove connector cap. Move any other wiring out of the way before drilling the three holes as shown in the video.
- Follow the installation instructions for hole location and size.
- Install John Deere dash harness #BM26268 into the dash drilled locations. Secure harness connectors with supplied retaining nuts and loom when needed.
- Reassemble the dash as required.
Expert Advice Before You Get Started
Now that you have a better understanding of how to prepare your tools and complete the installation, here are a few common questions answered by WESTERN Technical Support.
- Do You Have Any Advice/Tips for Someone’s First Installation?
- How to Determine Which Plow Fits Your Utility Vehicle?
- If I Already Have a Winch Installed, Do I Need to Remove It for Install?
- Where Do I Get Power From? (Battery or Fuse Block)
- What Can I Do If Ground Clearance is Diminished After Install?
- Any Difference When Installing a Straight Blade vs. V-Plow?
- How Long Does a UTV Installation Typically Take?
If you have additional questions, check your Owner’s Manual or Mechanic’s Guide for information on operation, maintenance, and troubleshooting. Still have questions? Contact your local WESTERN dealer for support.
Tricks to Stay Awake When Plowing During a Heavy Storm
Created January 28, 2021
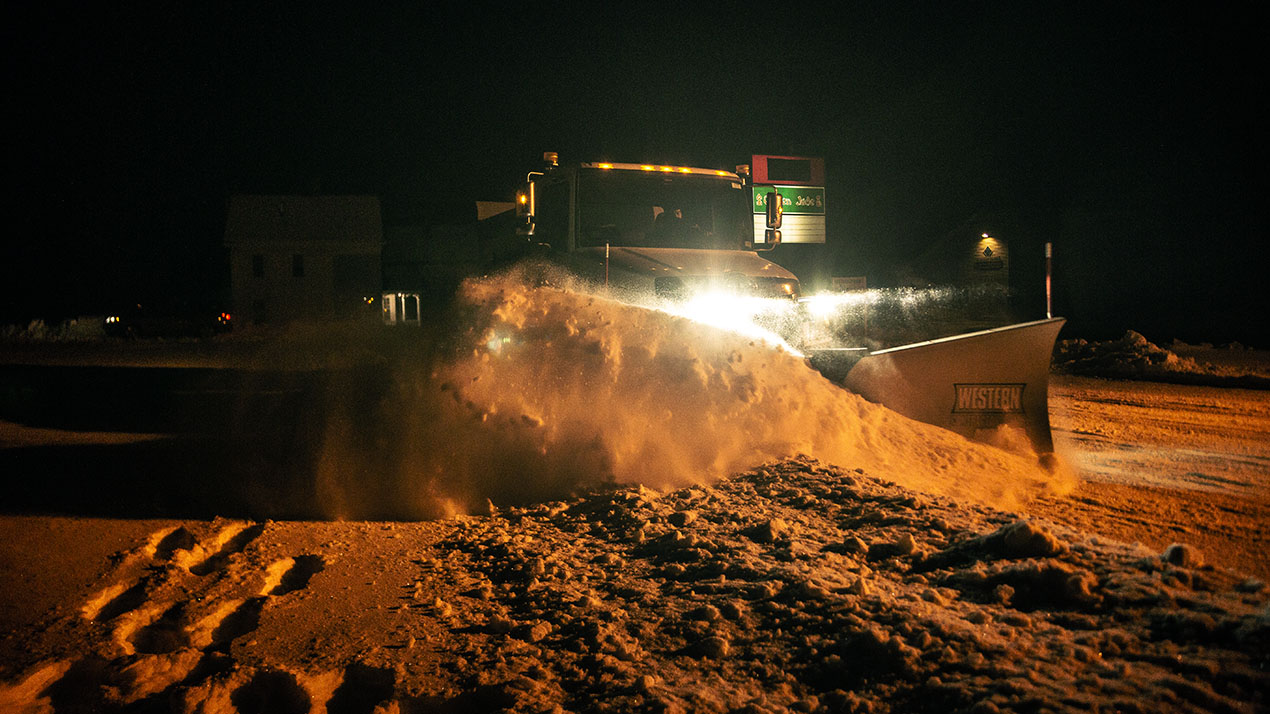
While most people are hibernating on bitter winter nights, snow and ice contractors are ditching sleep and braving the cold to clear the way. Staying awake and alert behind the wheel is just one of the challenges of being a snow plow operator. Although everyone has their favorite tactics, here are some best practices from WESTERN® on staying awake during a heavy storm.
Rest in Advance & Prepare For the Long Haul
Smart plow drivers have a good grasp on weather conditions and when the next storm is bound to hit. With experience, you learn how to predict a long night of plowing versus a quick cleanup before the morning commute. The best thing to do is get in a full sleep cycle (6+ hours) before getting on the road. This will improve alertness and prepare you for the long haul should the storm last a bit longer than anticipated.
Healthy Choices Increase Energy
Eating a huge, carb packed meal before you start plowing isn’t ideal. High protein, light, and healthy snacks are your best roadside companion to avoid the crash followed by high sugar, caffeine, or carb intake. Hydration is even more important, especially for physical activity when shoveling or treating sidewalks. Green tea is the perfect choice to both hydrate and gain natural energy while warming you up at the same time. If not hydrated, the body sends signals of tiredness and sleep deprivation to the brain. The cells, tissues, and organs in our body need water to work at their best.
Smart & Active Snacking
- Gum: Another solution to combat tiredness is chewing gum. The stimulation of facial muscles causes increased blood flow to the head. Since chewing is not an involuntary muscle movement (like breathing or blinking) it energizes the brain, which helps you stay awake. Choose a mint flavor for added focus. Peppermint has been proven to improve memory and increase alertness while reducing stress.
- Nuts/Seeds: Sunflower seeds can give you the fuel you need that also requires just enough active thought to prevent you from dozing off. Try putting a small handful of sunflower seeds in your cheek and cracking them open one at a time. Spit out the sunflower shells into a paper cup as you go.
- Ice: Chewing on ice makes it tough for you to fall asleep because the refreshing coldness of the ice revives you, stimulates the brain, and gives the extra boost you need to stay awake.
Don’t Get Too Comfortable, Keep Blood Flowing
It’s important to keep your mind sharp and body agile so you’re ready for the unexpected. If you’re starting to feel drowsy, take a few deep breaths, roll your shoulders, or rotate your wrists and ankles to get more blood pumping to your brain. The use of muscles releases adrenaline, which is one of the most potent stimulants known to exist.
Stretching is another great way to re-invigorate yourself and release stress stored in your muscles. It improves your ability to breathe more deeply than you normally would. Finding simple ways to keep moving while stuck inside of a vehicle for long periods of time will help to stay alert. An increase in blood flow, circulation, and oxygen supply are excellent ways to wake up in a hurry.
Introduce New Techniques to Stay Alert the Last Few Hours of Plowing
When you’re almost done but still need to knock out a few properties before clocking out, it’s time to change up your technique and find a hidden source of energy. Instead of getting cozy in your quiet heated cab, try a few of these tips:
- Give Your Body Temperature a Climate Shock
When you start to feel sleepy, roll down the window for some fresh, cool air or blast the air conditioning. The climate shock will quickly wake you up whenever you start to get too comfortable. - Music & Podcasts Stimulate Your Mind
To gain motivation and stimulate your mind during the last few hours of plowing, play something fast paced with a lot of bass or tune into an intriguing podcast. The loud, energetic music can give you the boost you needed. There are even pre-made Plow Playlists on Spotify, YouTube and Pandora to explore. - Refresh & Revitalize on the Go
Similar to splashing your face with cold water, a facial wipe or mist is a very practical way to revitalize on the go. For an added boost, find a eucalyptus or menthol scent for instant relief that leaves you feeling energized and focused.
Beware of Your Internal Clock
Since safety is a high concern in the snow and ice industry, sometimes the best countermeasure against driving while sleepy is to stop driving and take a nap. There is no sense in risking the lives of those surrounding you or risking damage to your equipment.
The biological urge to sleep is strongest between 4AM – 6AM, making it harder for plow operators to maintain alertness and attention during that time. Taking a break around 3AM has been shown to help night workers stay alert while on the job.
If you have the manpower to make it possible, look into rotating shifts on heavy storm nights so some of the crew can rest while the others are out clearing the way. It’s a great way to improve morale with the team and an efficient way to keep business profitable.
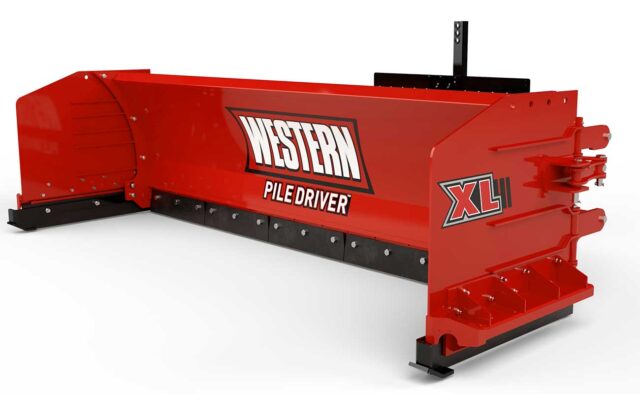
Get the job done faster (and better) with the award-winning PILE DRIVER™ pusher plows with TRACE™ edge technology.
Everything a Plow Driver Needs to Know About Proper Ballast Weight
Created May 20, 2020
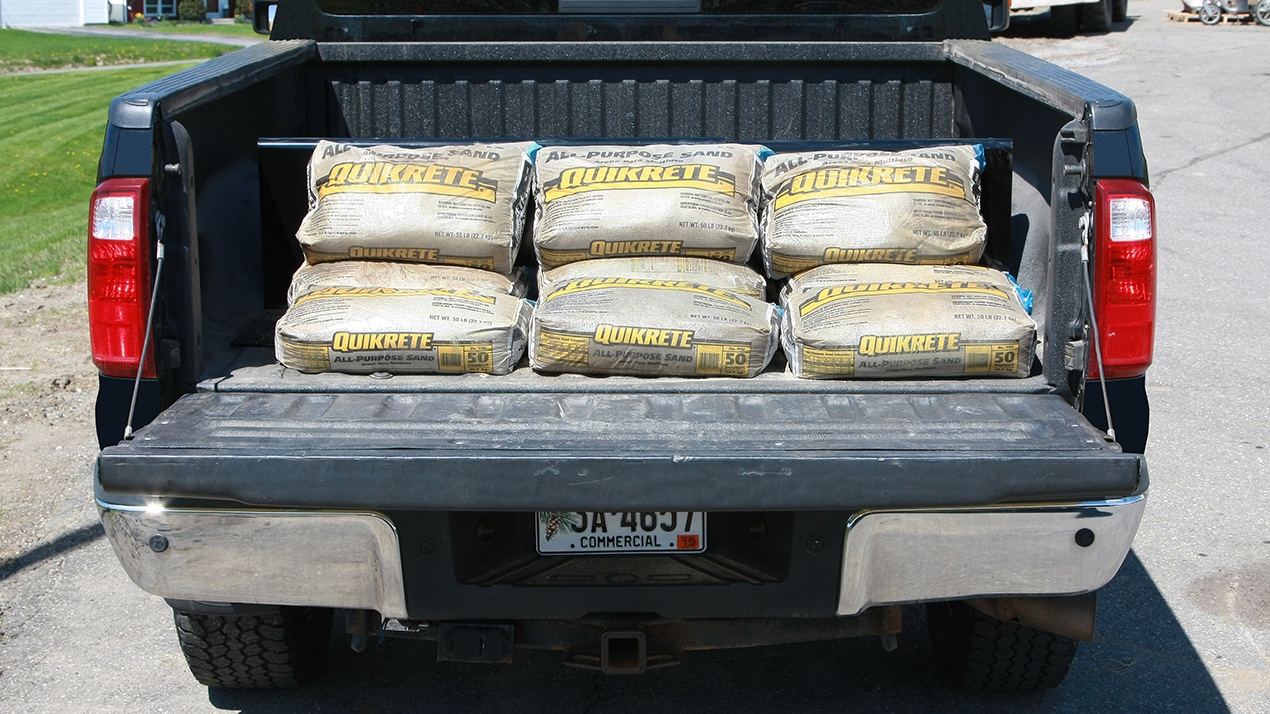
Understanding ballast weight and knowing how to calculate it properly for your plow truck setup is important. Not only will it help manage the weight loads of the vehicle but will ensure that the vehicle is properly balanced to ensure safe performance.
Benefits of Adding Ballast Weight To Your Vehicle Setup
Adding ballast weight is very common for snow plow drivers due to the additional weight of the plow on the front of the vehicle. In order to level out the weight distribution of the vehicle, additional weight is sometimes needed in the bed of the truck. Heavy material like salt or sand can be used to improve stability and handling such as steering, braking and traction on icy surfaces.
Equipment such as an in-bed hopper or tailgate spreader can also count as ballast weight—just take the weight of the spreading material into account when calculating the vehicles remaining payload capacity.
How to Properly Calculate Ballast Weight
You’ll need to start by understanding what your vehicle and plow manufacturers recommend in their application guides. Drivers need to ensure that the Front Gross Axle Weight Rating (FGAWR) is not overloaded and that the trucks horizontal Cg is within OEM certification range for Federal Motor Vehicle Safety Standards (FMVSS) 105. When installing a plow, the WESTERN® Quick Match program can help you easily determine if ballast weight is needed and the exact weight for your vehicle and WESTERN plow setup.
NOTE: It’s important to understand your vehicles Gross Vehicle Weight Rating (GVWR) and Gross Axle Weight Rating (GAWR) to ensure you’re not exceeding its limit and creating unsafe conditions.
Secure the Ballast Weight for Safe Operation
After placing the ballast weight behind the rear axle against the vehicle’s tailgate, you’ll want to make sure the materials are secure so they can’t move during transit. This can cause uneven weight distribution and is a safety hazard. Make sure that you are installing a retainer kit to keep the ballast in place and secure in the bed of the vehicle.
Countering the weight of the vehicle plow with in-bed ballast weight is essential for safely operating a vehicle with a plow. Not only does it help level out the weight distribution of the vehicle, but it also helps create traction needed on icy roads to maintain control.
Tools a Snow Plow Driver Should Never Be Without
Created March 17, 2020

If you stay ready, you never have to get ready. Planning ahead and stocking your truck with crucial tools will allow you to get up and go at a moment’s notice. Prepare your fleet with the following essential and emergency tools that will help your crew out in the field.
Remember to Pack the Essentials
Other than healthy food and plenty of water, you may encounter a time when these essential tools are crucial to get you back up and running. You’ll be thankful you planned ahead when that time comes.
- Electrical Tape
- Magnetic Work Light
- Clamp on Multimeter
- Bottle Jack
- Pipe Wrench
- Spare Fuses
- Ratchet Tie Down Strap(s)
- Butane or Propane Torch
- Windshield Washer Fluid
- WD-40 Grease
- Ice Scraper/Snowbrush
- First Aid Kit
Survival Tools to Help During a Snow Plow Emergency
Plow drivers find themselves in some of the most dangerous winter conditions. Having these tools on hand may help in an emergency situation.
- Fire Extinguisher
- Tire Plug Kit
- Air Compressor
- Power Supply/Jump Starter
- 12V Electric Heater
- High Visibility Vest
Don’t Let a Breakdown Freeze Your Workflow
Having the necessary tools is only half the battle. When you’re out plowing at 3AM and the dealerships and hardware stores are closed, you need to be self-sufficient. Even small inexpensive items can fail and stop you in your tracks. Make sure to have common parts on hand that may need to be replaced. WESTERN® offers an Emergency Parts Kit specific to the UltraMount® attachment system that comes equipped with extra hoses, hydraulic fluid, a solenoid, pins and more.
Procrastination usually results in something important being left behind. Don’t fall into that trap—stay prepared with these necessary tools every snow plow driver needs.
How to Properly Align Your Snow Plow Headlights
Created February 27, 2020
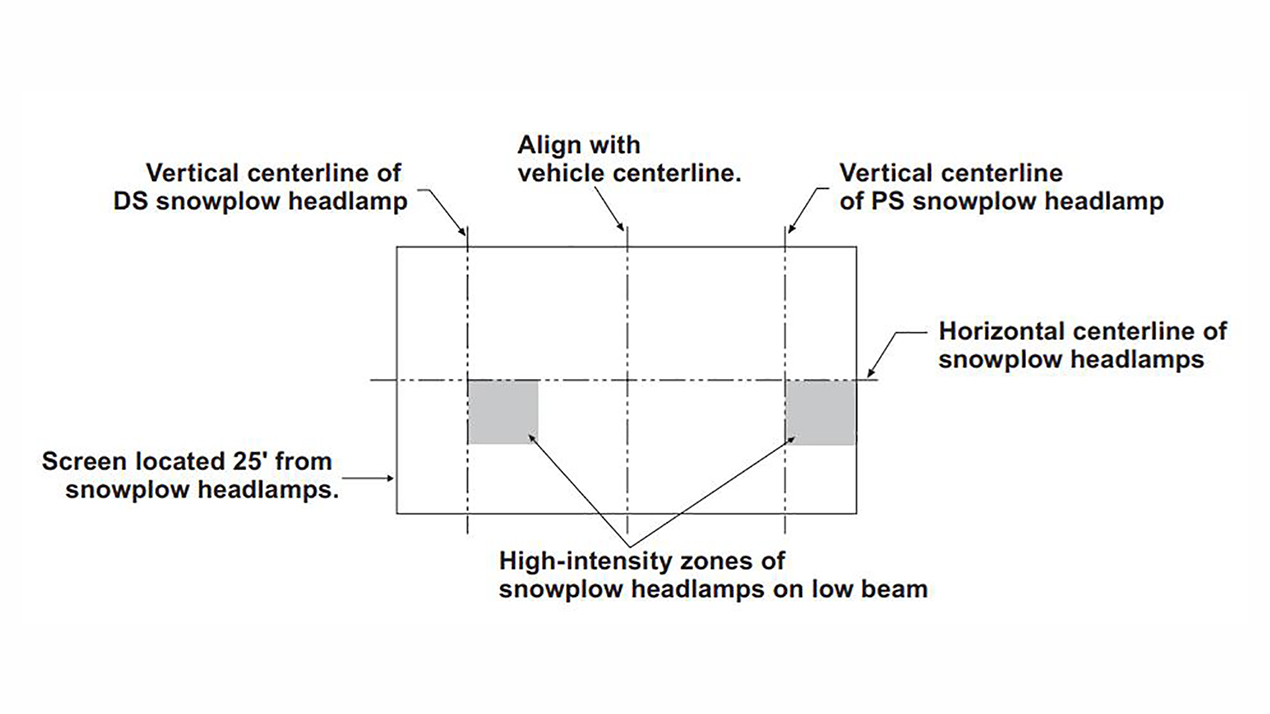
Ensuring that your snowplow headlamps are aimed correctly is important to achieve optimal visibility during plowing operations and to ensure that the headlamp orientation meets Federal Motor Vehicle Safety Standards (FMVSS) 108.
Follow These Simple Steps:
- Park the vehicle on a level surface 25 feet in front of a white screen such as a garage door. The vehicle should be equipped for normal operation and the plow should be in the raised position.
- Ensure there is no ice or mud under the fenders, tire pressures are set to the correct value, and that there is no load in the vehicle other than the driver and proper ballast. Clean the lenses and check for proper beam switching.
- Mark or tape the vertical centerline of the snowplow headlamps and the vertical centerline of the vehicle on the screen. Mark the horizontal centerline of the snowplow headlamps on the screen (distance from ground to headlamp centers).
- Align the top edge of the high-intensity zone of the snowplow lower beam below the horizontal centerline and the left edge of the high-intensity zone on the vertical centerline for each snowplow headlamp.
- Torque the headlamp fasteners according to the installation instructions once the headlamp aim is achieved.
3 Key Points
- Being able to see properly, as well as being seen by others while operating on the road, is important for everyone’s safety.
- Proper headlight aiming allows the operator to have proper illumination distance, which allows the operator to have efficient reaction time while driving.
- Ensuring that the headlights are aimed correctly will also eliminate blinding any other operator traveling in the opposite direction.
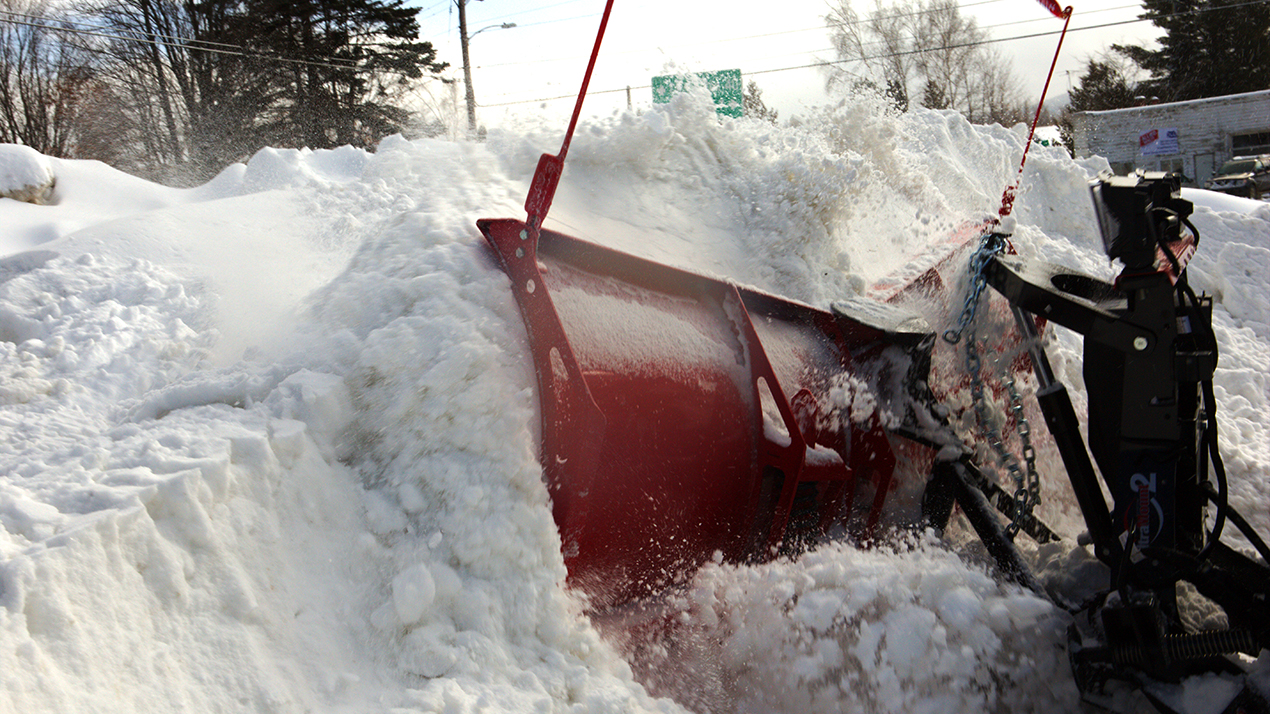
Safe & Efficient Snow Stacking
Created November 25, 2019
During snow removal operations, make sure you follow best practices to ensure efficient operations and to protect not only your safety, but also pedestrians and drivers that may be on site during service.
Preseason Site Visit
Prior to winter operations, ensure you visit each site to become familiar with the properties you will be servicing. Training should include studying site maps that have been created, noting relevant problem areas, where to stack snow, potential melt/refreeze, etc. The site maps should have been created based on a preseason meeting and/or walk-around, so following the maps ensures you are meeting the client’s and your manager’s expectations.
Pre-Event Site Visit
Before every event, evaluate your work area, no matter how familiar you are with the site. Vehicle and foot traffic could impact your ability to safely service the site and place snow where instructed on the site maps. It is important to also note any stacking issues during your site hazard analysis, including a) melt/refreeze conditions, particularly on south sides of buildings b) clearance issues c) line of sight for traffic and pedestrians and d) snow pile instability and snow fort activity.
When stacking snow, make sure to follow these best practices techniques:
- Plow with the blade in a straight forward (not angled) position. Plow forward and upward to create the piles.
- Piles typically should not exceed two times the height of the stacking equipment. Stacking too steeply can cause the pile to become unstable and can damage equipment or can cause injuries should it collapse.
- Be aware of low-hanging power lines as you stack since contact with these lines can be dangerous.
- Avoid plowing snow across intersections of public streets. In many instances, this is against the law.
- Understand where snow cannot be stacked for environmental reasons (e.g., near stormwater management systems, etc.).
- If stacking with heavy equipment, ensure properly outfitted spotters are used.
What to Watch for When Stacking Snow
These are a few of the key areas to consider when stacking snow during winter operations:
- MELT / REFREEZE: Snow piles should be placed in areas to prevent runoff and refreeze in the pedestrian field. The slope of the property and the placement of drains can cause water to flow onto a walking surface and freeze.
- PARKING: Stack snow on the exterior of the site when possible. Piling snow in the middle of a lot takes up valuable parking space and can cause sight line issues. Never stack snow in or near handicapped spaces.
- LINES OF SIGHT: Be mindful of lines of sight, particularly when piling snow near parking spaces, at the ends of parking lanes and from blowing and drifting snow from large piles. Never pile snow so high or wide that it obstructs the view of traffic.
- WATCH FOR PEOPLE: Inspect existing piles prior to operations, particularly in residential areas. Ensure children aren’t playing in and around the mounds since unstable stacks can collapse, trapping them inside.
- TRAFFIC FLOW: Do not plow into entrance/exit lanes. Stacked snow can impede flow, forcing vehicles into oncoming traffic, or cause congestion or accidents. Larger piles can obscure traffic signs, sight lines and curbs.
- DON’T BLOCK ACCESS: Never stack snow against or around fire hydrants or other emergency access areas. Doing so can damage structures and limit first-responder access in the event of an emergency.
The Right Equipment For the Job
Safe and efficient snow removal depends greatly on having the right equipment for the job.
Pushers are great for stacking snow. Non-truck vehicles like skid-steers, tractors, and loaders are way better vehicles than trucks for stacking snow because they can raise snow higher. Meaning, they can get more snow out of the way and off the surface you’re clearing for your customers.
How to Determine Where to Pile Snow
Created August 11, 2016
As a snow plower, it’s all about having a game plan. If a storm hits, and you don’t have a strategy, you’re already behind. No part of plowing demands a strategy more than deciding where to pile snow. Not only do you have to get the job done efficiently, but you also have to be looking ahead to future storms, AND keeping people safe and pathways clear.
Using the tips below, you’ll be able to craft the perfect piling strategy for each of your properties.
It’s the Customer’s Call
Many property owners have specific rules and requests for the location of snow piles on their property. As long as these requests do not yield a potentially dangerous or hazardous situation, they should always be written into the customer’s contract. Communicating with your customers up front is a way to help ensure customer satisfaction.
Keep Entrances and Pathways Clear
The plower’s job—in its simplest form—is to clear the way. That doesn’t just include where people drive, it’s about where they walk, too. Make sure that your snow piles aren’t blocking any sidewalks, driveways, doorways, fire hydrants, mailboxes, drains, or anything that your customers will need to access.
Keep Drains Clear
Drains and catch basins are typically found in lowest-lying areas for collecting surface water and run-off from melting snowbanks. Drains and the areas surrounding them should always be kept clean and clear of snow and other debris to avoid blocking the drain, which could result in flooding and subsequent ice hazards from refreezing.
Pile Snow Away from Buildings, Downhill and Downwind
This set of tips isn’t always possible as a whole given the circumstances, but if you can accomplish them as a part of your strategy, that’s even better. Piling away from buildings can reduce building damage, basement flooding, and avoid injury hazards. It also makes the property look more appealing. Piling downhill and downwind can help avoid drifts if the wind picks up.
Think Two Storms Ahead
Yes, the storm at hand is the most important, but it’s not the only storm of the season. If you can make room in your piling areas for future snowstorms by pushing snow back or piling it higher, do so. It’ll save you from doing extra work down the road.
Make the Decision Ahead of Time
When you’re out in the storm, time is of the essence. Get familiar with your properties in advance and have an idea of where you’re going to pile snow. The worst thing you can do is get halfway through the job and then change your mind about where you’re going to put the snow. Make a game plan ahead of time and stick to it.
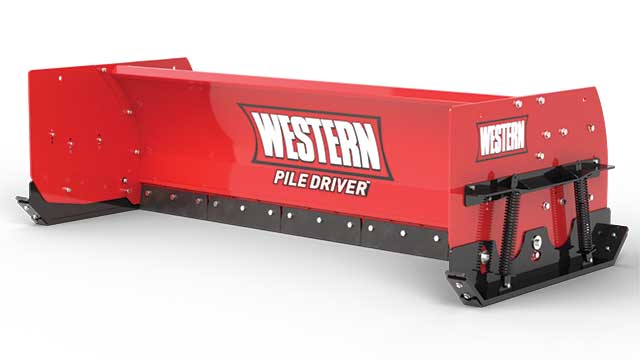
Go big with snow removal and get the equipment that’s going to get the job done all season long. The award-winning PILE DRIVER pusher plows with TRACE edge technology move massive amounts of snow, so you can get more jobs done faster and better.
How to Efficiently Plow a Parking Lot
Created June 1, 2016
Parking lots are crucial areas to plow, so you’ve got to develop an efficient system to get the job done well and move on to the next one as quickly as possible. Here are a few tips to help you do just that.
Prepare Before the Winter Season
Make sure you’re familiar with the property. Stake off areas of the lot that could be damaged by plowing. Also be aware of areas or objects that will be hidden once the snow falls, such as speed bumps, fire hydrants, etc. All customers and properties are different, and they may have some specific requests, such as a minimum plowable snowfall, the snow pile location, or if they want walkways and doorways cleared and/or salted. Again, this should all be determined before the winter season begins.
When to Start Plowing
In a perfect world, you’re plowing the parking lot when the business is closed, and the lot is empty, but you won’t always have that luxury. As always, be very careful of customers, cars, and property, especially if the business is open. Go slow when people are present to allow adequate time to stop if someone enters your plowing path.
The Proper Width for a Plow Pass
Use your best judgment based on the condition of the snow, but try to remember the following rule of thumb while plowing so you do not overload your plow blade. If there is approximately two inches of snow on the ground, plow with the entire plow blade, and if there is around four inches, use three-fourths of the blade.
How to Clear Snow From the Lot
For your first pass, begin by clearing along buildings, pushing the snow away from the building. Continue making passes away from the building in as long and as straight lines as possible. The goal is to clear the lot in the fewest number of passes and using the designated snow pile locations for that property. Reference the customer contract if necessary.
If possible, snow should be piled away from the building and, ideally, downhill and downwind to minimize drifting. Never pile snow on sidewalks, doorways, shrubbery, mailboxes, fire hydrants, or other structures. Some customer contracts may require you to stockpile snow and remove it from the site entirely, especially if the lot has a limited number of parking spaces.
De-ice Before you Leave
Ensure all areas of the lot are plowed and/or salted according to your contract. Check for clumps of snow or “hard pack” left in the parking lot, and remove them. Clumps can freeze and be dangerous to customers or a nuisance for you the next time you plow. Salt these areas per the contract to avoid injury hazards or damage.
Your business is built on your reputation; so when you leave the property, make sure you can look back and be proud of the work you’ve done. It makes a difference, and your customers will notice.
Go big with snow removal and get the equipment that’s going to get the job done all season long. The award-winning PILE DRIVER pusher plows with TRACE edge technology move massive amounts of snow, so you can get more jobs done faster and better.